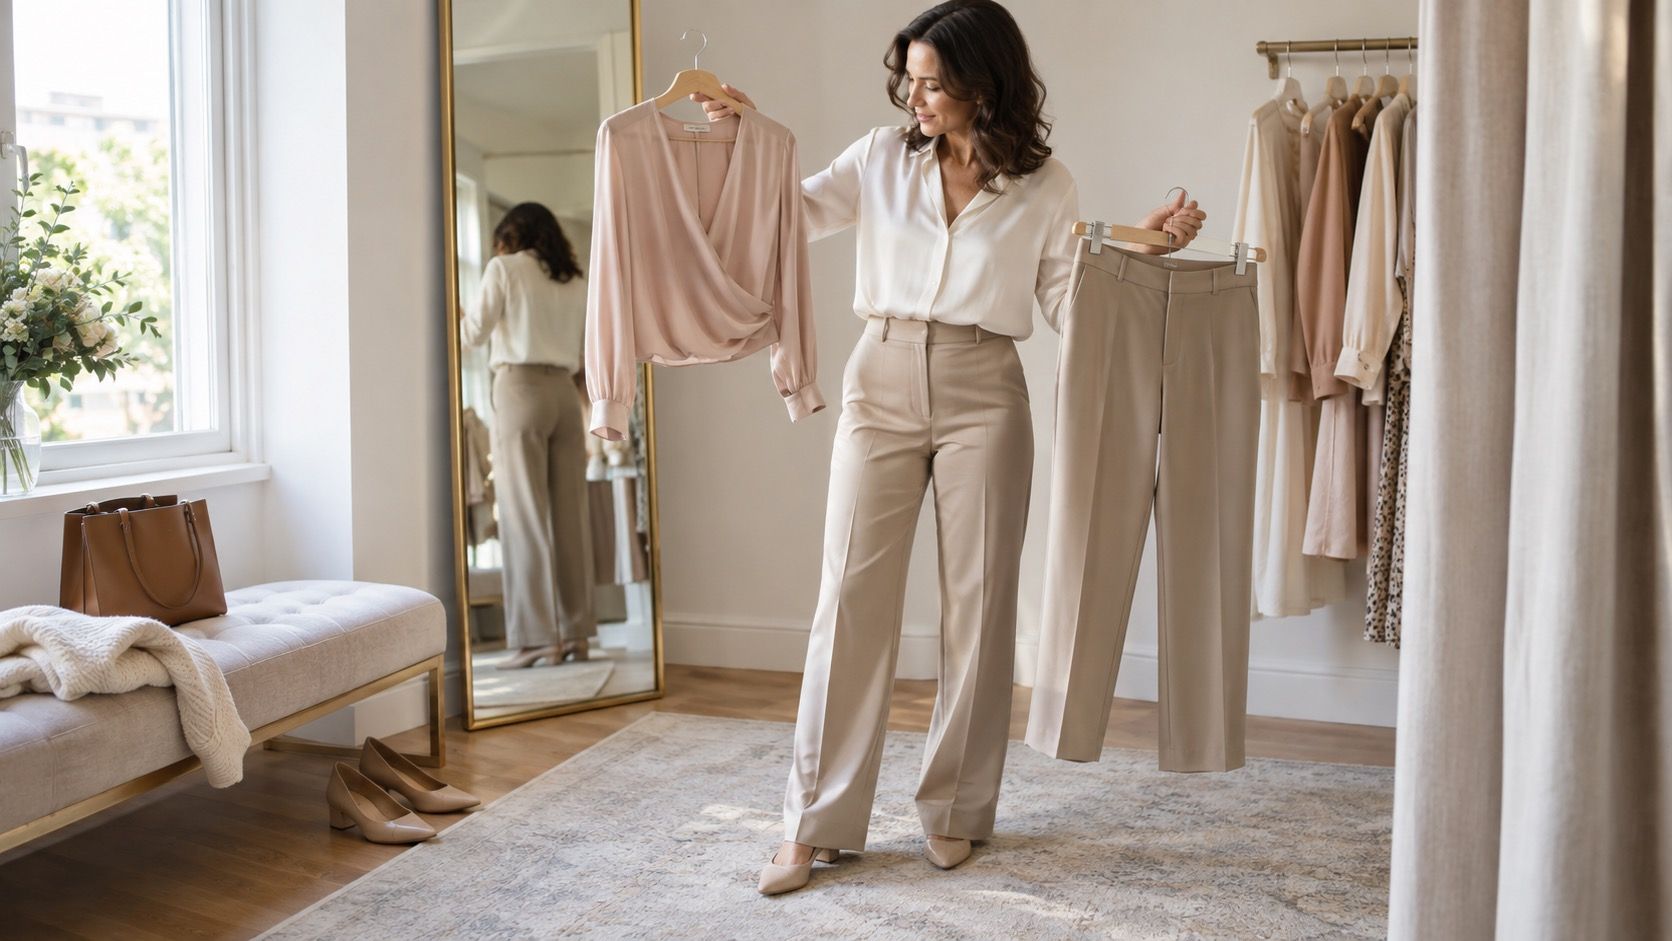
A body shape calculator is useful when it turns a vague mirror impression into a few comparable numbers. It is less useful when it makes you feel you have failed a geometry test. The aim is not to earn a permanent label; it is to notice where garments need room, where they tend to hang straight, and which proportions you may want to repeat or soften in an outfit.
Use the calculator as a starting point, not a ruling
Most calculators compare bust, waist, and hips, then sometimes add shoulders. They are looking for relative differences, not an ideal set of measurements. Two people can enter nearly identical numbers and prefer entirely different clothes because torso length, posture, breast shape, and fabric sensitivity all change how a garment sits. Think of the result as a short list of silhouettes to test in a fitting room.
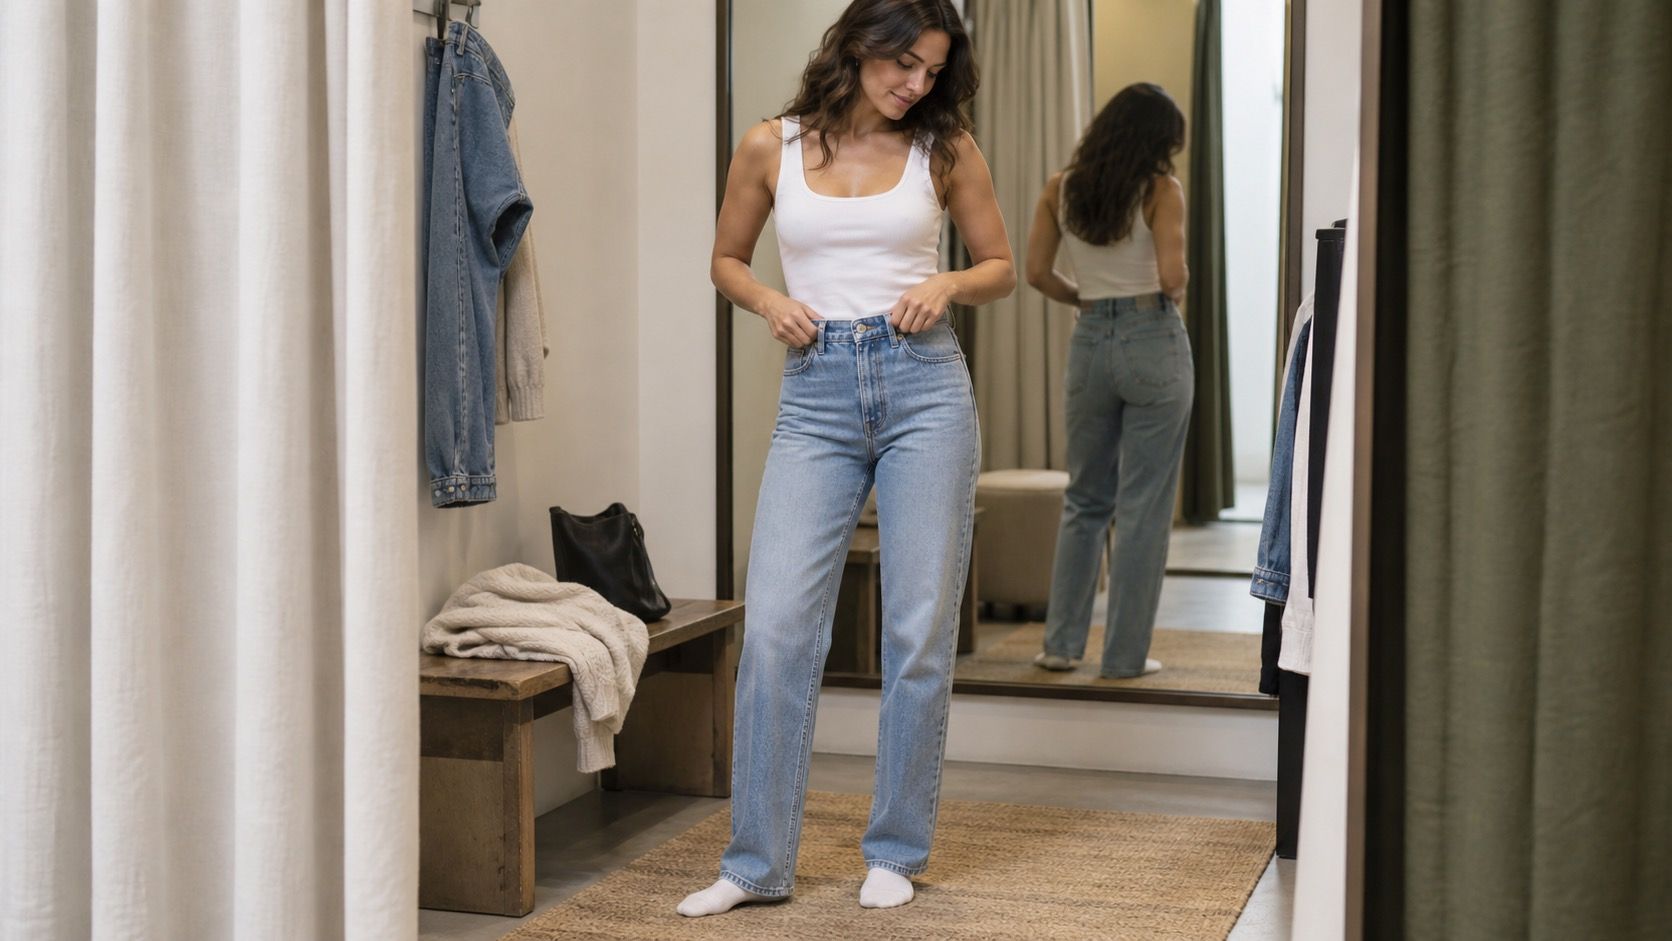
The first practical check is whether the calculator explains something you already see: perhaps trousers fit the hips but gap at the waist, or a boxy jacket hides a waist you like to show. If the result clashes with your own experience, do not force it. A tape captures circumference; it does not capture the front-to-back distribution of that circumference or the way you move through a day.
Set up for measurements you can repeat
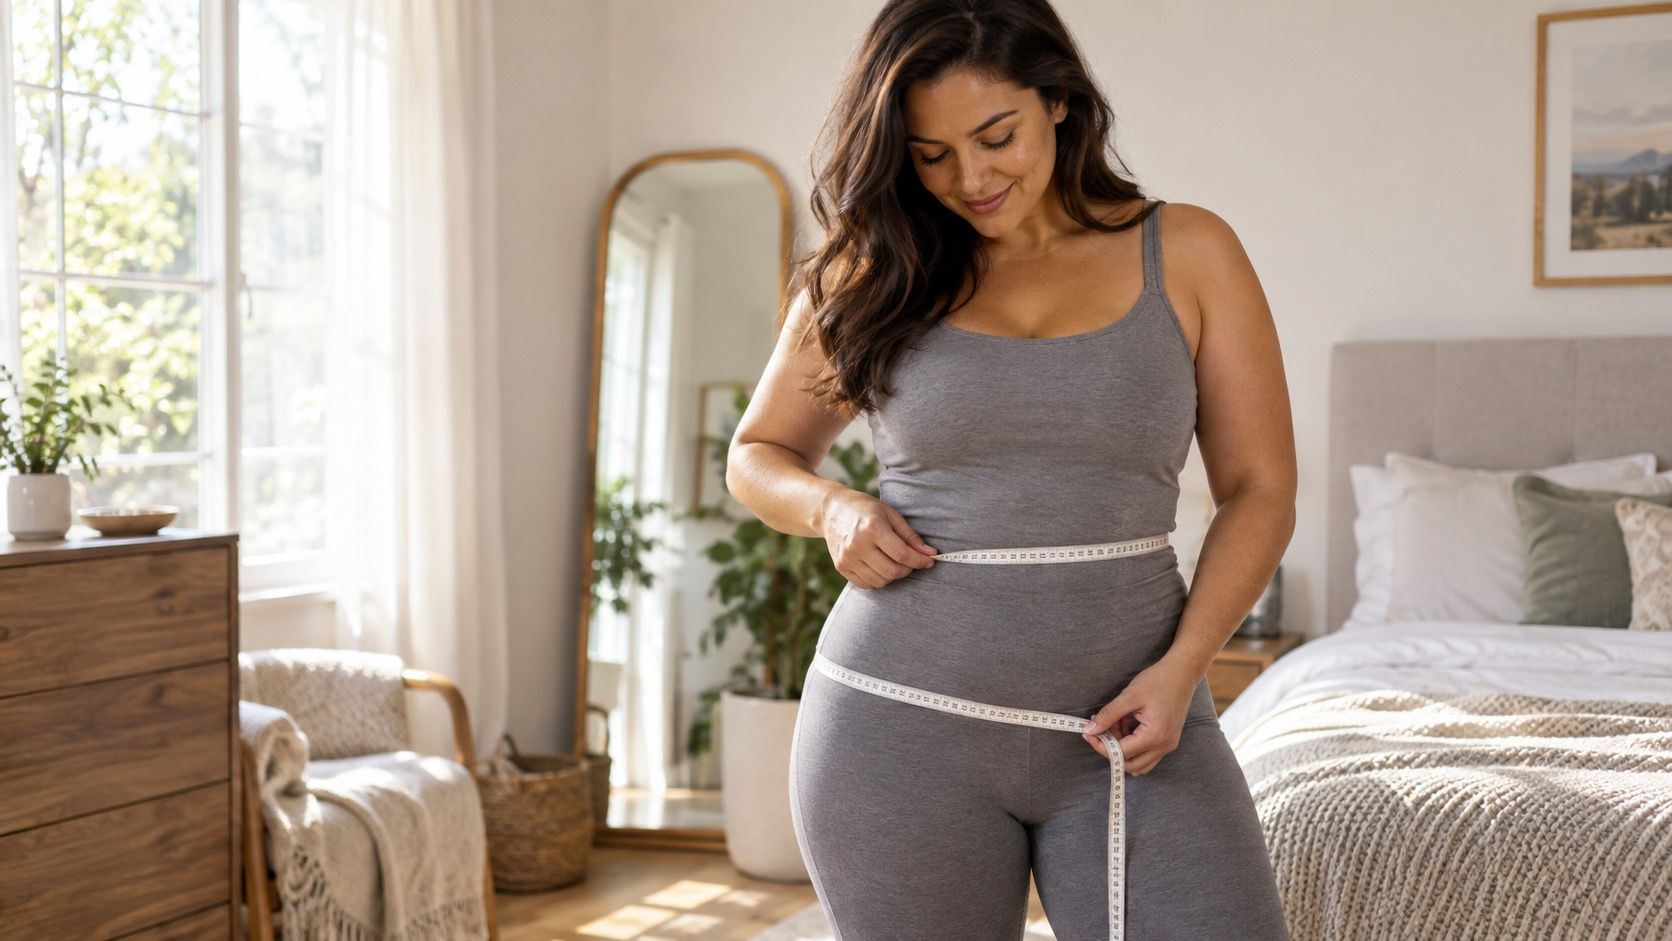
Use a soft, flexible measuring tape, bare skin or thin close-fitting underwear, and a mirror. Take the measurements at roughly the same time of day if you plan to compare them later. A heavy lunch, a bra with substantial padding, or a tape pulled tighter on the second attempt can easily create a difference large enough to push an online body shape calculator toward another category.
Stand normally with your feet under your hips. Do not hold your breath, push your pelvis forward, or pinch the tape in pursuit of a smaller number. Keep it parallel to the floor; the mirror is more reliable than trying to judge the back of the tape by feel. Record each number once, then repeat it. If the two readings differ, take a third and use the middle value rather than the smallest one.
Measure bust, waist, and hips at their true fullest points
For the bust, wrap the tape around the fullest part of the chest and keep it level across the back. The tape should touch without denting the skin. A supportive everyday bra is usually the most useful choice because it reflects how many tops and dresses will actually fit; just note that a different bra can alter the result. This is a body measurement, not a bra-size calculation.
Find the natural waist by bending gently to one side and noticing the crease. It is often above the waistband of low-rise jeans and may not be the narrowest-looking point in a mirror. Measure there while relaxed. For hips, bring the tape around the fullest part of the seat and upper hip, which is commonly lower than people expect. Turn sideways in the mirror: if the tape slopes upward or catches on one side, reset it before writing the number down.
| Measurement | Where the tape goes | Useful accuracy check |
|---|---|---|
| Bust | Fullest part of the chest, level across the back | Wear the bra you usually wear with fitted clothes |
| Waist | Natural bend or crease of the torso | Exhale normally; do not measure over a trouser waistband |
| Hips | Fullest seat and upper hip | Check the tape is horizontal from the side |
| Shoulders | Outer shoulder point to outer shoulder point | Ask for help or use a well-fitted shirt as a visual check |
Add shoulder measurements when the result feels too close to call
Shoulders are harder to measure alone because the useful points sit near the outer edge where a shoulder seam would end. If possible, ask someone to hold the tape straight from one outer shoulder point to the other. A second, less precise option is to compare the shoulder width of a shirt that fits you well without pulling across the back. Do not confuse sleeve width with shoulder width.
This number can explain why a calculator based on bust, waist, and hips alone feels incomplete. Broad or visually prominent shoulders can make an otherwise balanced set of measurements read more like an inverted triangle; narrower shoulders can make fuller hips look more pronounced. It is a clue for fit, especially in blazers and shirts, rather than a reason to abandon the other three measurements.
Read close and mixed results with a little restraint
Many bodies land near the boundary between categories. A small waist difference may point toward hourglass on one tool and pear on another; similar bust and hip measurements may look rectangle-like until shoulders or a high hip are considered. This is normal. Online formulas use different thresholds and may round numbers in different directions. Enter whole numbers only if the calculator requests them, and keep your original measurements in your own notes.
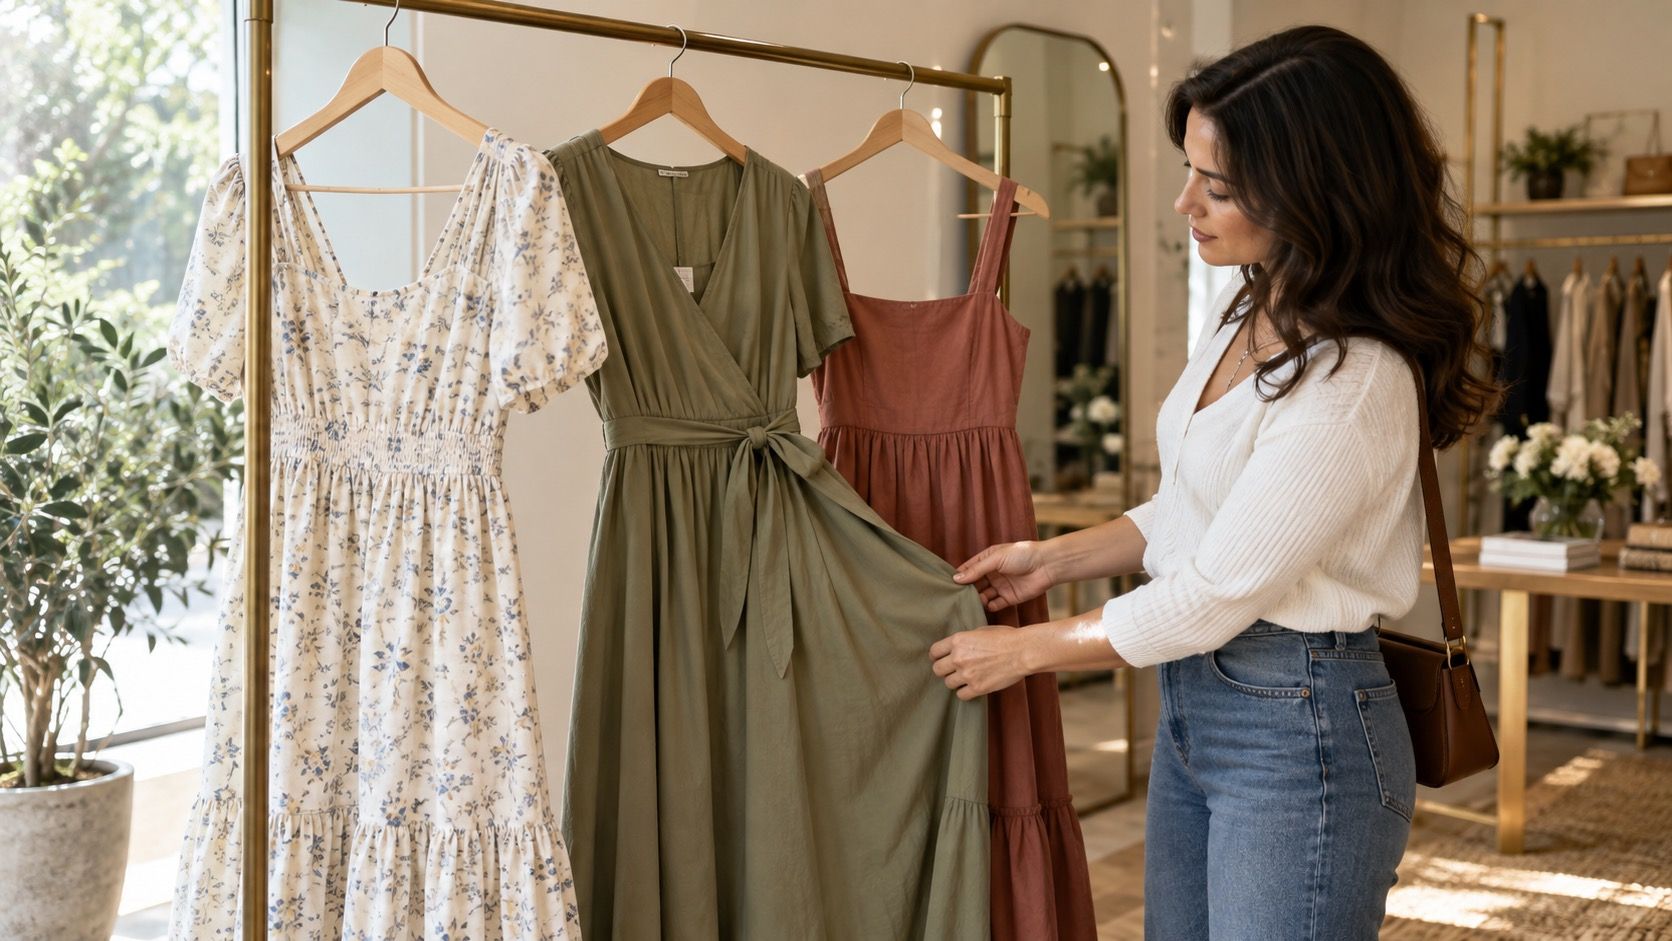
A useful response to a mixed result is to test two wardrobe ideas, not to debate which name is correct. Try a jacket with a clear shoulder line and then one with a softer shoulder. Compare a straight dress with a wrap or belted dress. Notice whether the difference is comfort, movement, visual balance, or simply personal taste. Those observations are more valuable than a category printed under a diagram.
Repeat measurements when fit changes, not to police your body
Measurements can change with weight fluctuations, training, hormones, age, pregnancy, recovery, and even a different style of bra. Repeat them when you are shopping for a major item, sewing, or revisiting a wardrobe that suddenly feels wrong. There is no need to measure weekly unless you have a specific fitting purpose. Clothes should serve the body you have today, not an old spreadsheet.
Keep a short record with the date, what you wore while measuring, and any fitting notes: high-rise trousers comfortable at the waist, shirt tight across shoulders, knit clings at the bust. Over time this becomes a far better personal body shape calculator than a single automated result. It tells you what to look for on a rail and what deserves an extra minute in the changing room.